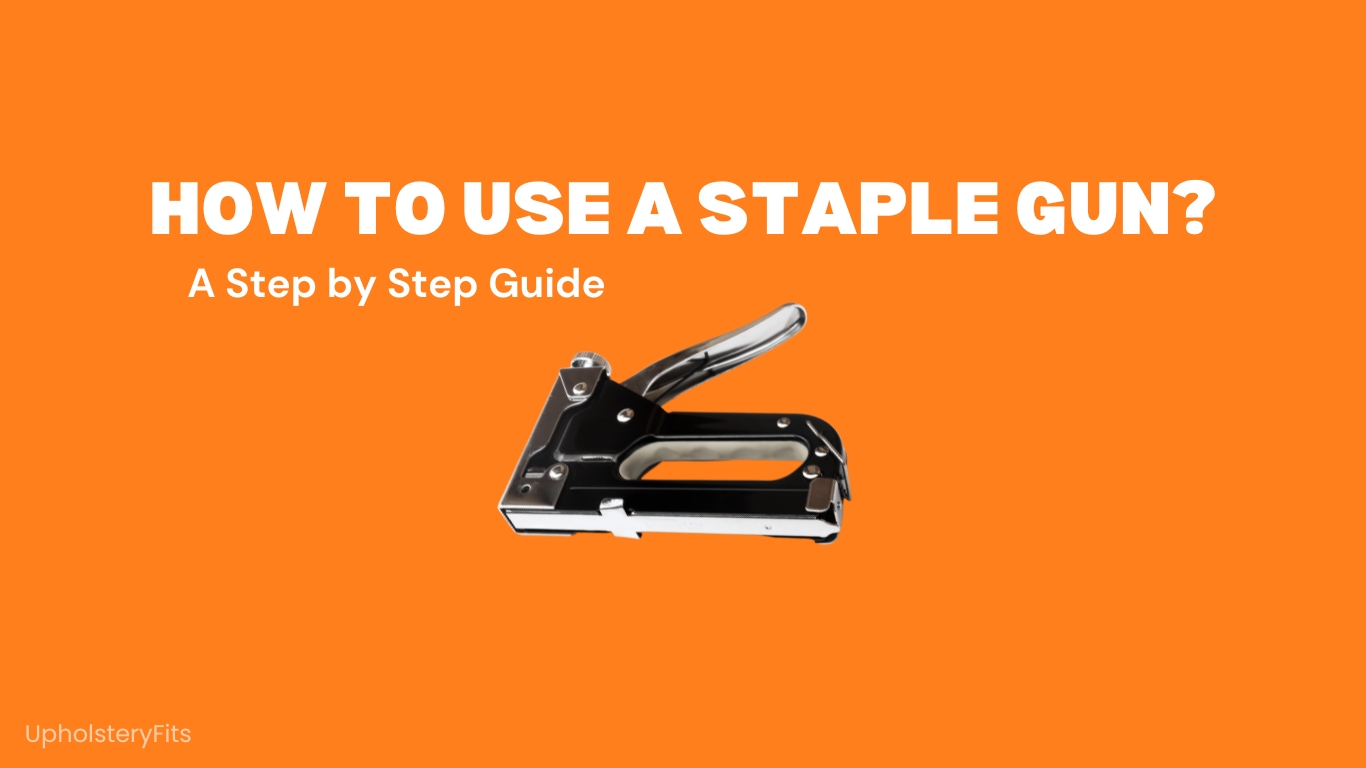
In this article, I’ll explain how different pneumatic, electric, and manual staplers work, their loading mechanism, and how they can be used on different types of surfaces like wood, leather, metals vinyl flooring, etc.
So, if you want to get to know about this in-depth and completely stay tuned and keep reading. After reading this guide, all your queries will be answered!
A Guide to Standard Steps
Firstly, coming to the standard steps of how to use a staple gun. The process is basic and any person can use staple guns by following these number of steps smoothly.
The following steps are given below:
- Prepare: Connect the stapler to the power source or air compressor, depending on the type of stapler.
- Load staples: Open the staple magazine and insert the staples in the designated slot, ensuring proper alignment.
- Adjust settings: Modify the stapling depth or driving force using the adjustment dial if needed.
- Position: Hold the stapler firmly and align it straight with the surface.
- Enable safety: Activate the safety mechanism, such as a trigger or switch, before firing.
- Fire: Squeeze the trigger or press the firing button to drive the staple into the material.
- Repeat: Release the trigger, reposition the stapler, and continue stapling as necessary.
- Unload or store: Remove any remaining staples and safely store the stapler according to the manufacturer’s instructions.
It’s important to read and understand the specific instructions provided by the manufacturer for your stapler.
Always prioritize safety and wear appropriate protective gear, such as safety glasses, when operating any power tool.
What are the Standard Types of Staple Guns?
First I came to the types of nail/staple guns. I have covered multiple in-depth articles on staples therefore you already know the 3 types. Let’s get to business i.e.,
Pneumatic Stapler
First comes the pneumatic staple gun. They work on the basis of an air compressor. The air compressor needs to be bought separately alongside the staple gun.
The ideal pressure for the pneumatic works ranges from 70-120 PSI which can be used to complete different stapling jobs with accuracy and efficiency.
After adjusting the pressure, you can fire the staples into the material of your choice.
They can be a safety hazard, if not used with care they can damage you severely.
Electric Stapler
Electric guns come in two types i.e., corded or cordless staplers.
If it is cordless, you just need a battery. If a staple gun is corded, you will need a power source and a power outlet.
These staplers are cheaper than pneumatic staplers. You just need to press it with the surface you’re dealing with and fire the staples according to your requirements.
The safety policy of pneumatic allies to electric as well.
Manual Stapler
These staple guns are made up of steel or hard plastic material.
Manual Staplers don’t require any electric source for its working. They just need physical power and you’re basically ready to go. You can easily fire staples into a variety of materials and these staplers are really affordable as compared to pneumatic and electric staplers.
These staple guns are safer and more secure than the above two.
Where are these staplers basically used?
Let’s talk about why you need a staple gun and where can they be used.
I’ll tell you about the purposes of all three types of staplers. I’ve made a table right down below so that you can understand the situation and the applications of these staplers.
| Types | Where is it used? |
| Pneumatic | Carpentry, furniture upholstery, trimming, sheathing, roofing, packaging, leather vinyl. |
| Electric | DIY projects, crafting, light construction, framing, upholstery work, leather, vinyl. |
| Manual | Office usage, fabric crafting, attaching lightweight materials, scrapbooking |
How to Load and Use the Staple Gun
Now, let’s get down to business and learn how to use and load a staple gun. Let’s also explore when and how these staplers work their magic.
Each of the three staple types has its own unique mechanism and loading technique. Here I will also discuss how they perform when used on different materials.
So, let’s dive right in and discover all there is to know about staplers!
How to use a Pneumatic Stapler
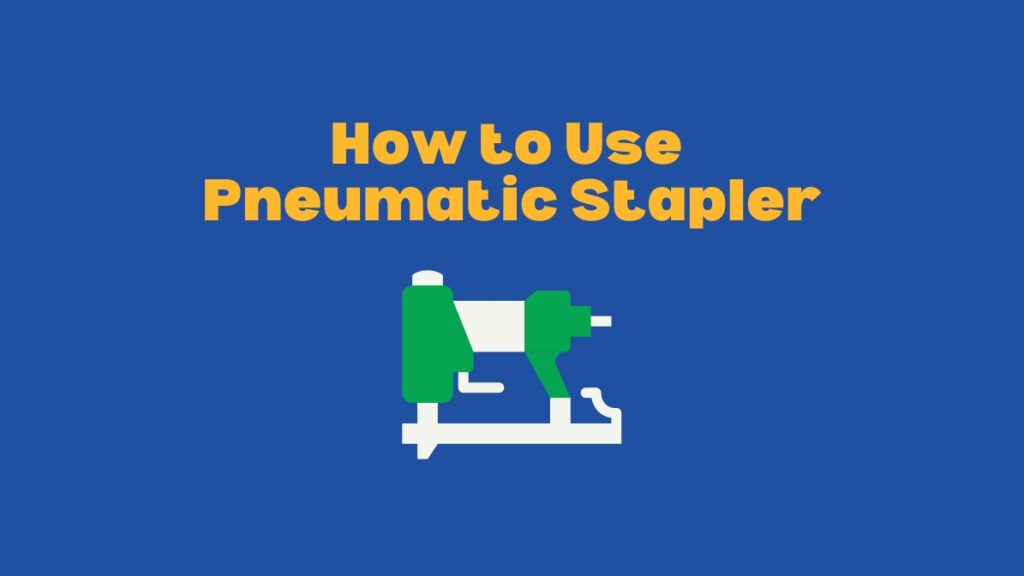
Using a pneumatic stapler is easy once you know the basic steps. It is designed for easy loading and handling. In this section, let me walk you through the simple process. I have used Arrow PT50 for it.
By following a few straightforward steps, you’ll be well-equipped to tackle your projects with confidence. Let’s get started!
No of Staples:
They typically have a magazine capacity of 100 to 200 staples per load, although larger capacity models can hold over 300 staples.
Follow the following steps:
Here is the step-by-step guide.
Loading the Stapler
- Begin by wearing the appropriate safety gear and ensuring that everything else is disconnected from the stapler.
- Look for the magazine release button or lever located at the back of the stapler and activate it.
- Slide out the magazine and open it to access the loading area.
- Take a strip of staples and make sure the legs are facing downwards, ensuring proper alignment.
- Close the magazine securely, making sure the staples are held firmly in place.
- Reattach the magazine by sliding it back into the stapler until it locks securely in place.
Using the pneumatic staple gun
- Connect the pneumatic stapler to the air compressor using a suitable hose and fittings.
- Adjust the air pressure on the compressor to the recommended range for the material you’re stapling.
- To ensure proper operation and clear any debris, test fire the stapler in a safe direction.
Flooring Guide
Let’s discuss the different types of scenarios in which a pneumatic stapler can be used. Whether it’s wood, leather, metal, or vinyl flooring.
The pneumatic stapler has the same working mechanism in all the different scenarios, so I have explained the general mechanism.
- Prepare the material: Align and secure the wood pieces, leather, metals, or vinyl flooring in place.
- Position the stapler: Place the pneumatic stapler against the surface you’re dealing with.
- Trigger the stapler: Activate the stapler by unlocking the safety and pressing the trigger.
- Drive the staple: The stapler’s pneumatic power drives the staple into the material, securely fastening it.
- Repeat as needed: Move along the surface, stapling at desired locations of your choice until the job is done.
- Adjust staple depth (if applicable): Use the depth control feature to adjust staple penetration if necessary, depending on the surface you’re working with.
When dealing with wood
It’s important to note that the proper selection of staples is crucial when working with wood.
Ensure that you use staples specifically designed for wood applications and choose the appropriate size and gauge to match the thickness and strength of the wood material.
When dealing with leather
Always use caution when working with leather as it is a really sensitive material.
You should practice scrap leather to familiarize yourself with the stapler’s performance and make any necessary adjustments before working on your actual leather project in order to achieve the accurate and specific results that you want.
When dealing with metals
Keep in mind that pneumatic staplers are not specifically designed for heavy-duty metal applications, and their performance may vary depending on the type and thickness of the metal. For thicker or more heavy-duty metal applications, it’s recommended to use specialized tools such as metal staplers, nailers, or fasteners designed for metalworking tasks besides using a pneumatic stapler.
When dealing with vinyl flooring
It’s important to note that using staples with vinyl flooring may not provide the same level of security and durability as other installation methods, such as adhesive or specialized flooring staples.
For proper and secure installation of vinyl flooring, it’s recommended to follow the manufacturer’s guidelines and use the appropriate installation methods and tools specified for vinyl flooring installation. Using a pneumatic stapler, in this case, can cause inaccurate and inefficient results.
How to use an Electric Stapler
Electric Staplers just like pneumatic staplers have a really easy loading mechanism but they’re comparatively simpler than Pneumatic Staple Guns. The steps for loading an electric stapler with staples are mentioned below: I have used Workpro Cordless (View on Amazon) for it.
Number of Staples:
The staple capacity of electric staplers varies depending on the model and size. Typically, they can store around 50 to 100 staples per load, with larger models accommodating up to 150 staples or more.
Follow the following steps
Loading and using an electric staple gun is a straightforward process that can vary slightly depending on the model. In this detailed step-by-step guide, Let’s walk you through the general steps to load and use an electric staple gun.
Loading the stapler
- Before you begin, ensure the electric staple gun is unplugged or the power switch is turned off to prevent accidental stapling.
- Locate the staple magazine or loading area, typically found on the bottom or rear of the stapler.
- Press the release latch or button to open the staple magazine.
- Take a strip of staples and insert them into the magazine with the pointed ends facing downward. Ensure the staples are positioned correctly and aligned with the guide rails.
- Push the staple strip firmly to the back of the magazine until it is securely seated.
- Close the staple magazine by pressing it back into place until it clicks or locks securely.
Using the electric staple gun
- Plug in the electric staple gun or turn on the power switch, following the manufacturer’s instructions.
- Test the stapler by pressing the trigger or activation mechanism to ensure it is functioning properly.
Flooring Guide
Let’s discuss the different types of scenarios in which an electric stapler can be used. Whether it’s wood, leather, metal, or vinyl flooring.
Here is how it works.
- Prepare the wood pieces: Ensure the pieces you want to staple are properly aligned and held securely in place.
- Position the stapler: Hold the electric stapler at the desired location on the surface, aligning the nose of the stapler head with the material.
- Trigger the stapler: Press the trigger or activate the electric mechanism to drive the staple into the material. The stapler will automatically push the staple out of the magazine and into the material, securing the pieces together.
- Repeat as needed: Move along the surface, positioning the stapler at desired locations, and repeat the stapling process to secure the pieces that you’re dealing with together.
- Adjust staple depth (if applicable): Use the depth control feature to adjust staple penetration if necessary, depending on the surface you’re working with.
When dealing with wood:
When using an electric stapler for woodworking, it’s important to choose the right staples specifically designed for wood.
Consider the thickness and hardness of the wood and select the appropriate size and gauge of staples. Before starting your project, it’s recommended to test the stapler on a scrap piece of wood to ensure proper performance.
When dealing with leather
When working with leather, it is important to use staples that are specifically designed for this material. Leather requires staples with sharp points and proper width to securely hold the material without causing damage.
Ensure that you choose staples that are suitable for leatherwork and match the thickness and type of leather you are working with. It is also recommended to test the stapler and staples on a scrap piece of leather before proceeding with your actual project to ensure proper results.
When dealing with metals
When using an electric stapler with metals, it is essential to select the appropriate staples that are designed for metal applications. These staples are typically made of sturdy materials such as galvanized steel or stainless steel, which provide durability and resistance to corrosion.
Ensure that the staples are the correct size and gauge for the thickness of the metal you are working with. It is also advisable to test the stapler and staples on a scrap piece of metal before working on your actual project to ensure proper penetration and holding strength.
When dealing with vinyl flooring
For vinyl flooring installations, an electric stapler can be used to secure the vinyl material to the subfloor.
It is important to use staples that are specifically designed for vinyl flooring installations, as they are often longer and have a specific shape to properly secure the material.
Follow the manufacturer’s recommendations for staple size and type suitable for vinyl flooring applications.
How to use a Manual Stapler
They are quite easy to handle and use in terms of electric staplers or pneumatic staplers as they don’t require any type of power source it’s working. They just need to be loaded with staples and they’re basically ready to go you can easily fire staples into a variety of materials for their versatility. I have used the T50 Manual Stapler (view on Amazon) for this tutorial.
No of Staples:
Manual staplers generally have a staple capacity of around 50 to 100 staples per load. However, the specific staple capacity may vary among different models.
Follow the following steps:
Here is a step-by-step guide for manual staplers.
Loading and using a manual staple gun is a straightforward process that allows you to tackle various projects with ease. In this detailed step-by-step guide, Let’s walk you through the common steps to load and use a manual staple gun.
Loading the staple gun
- Begin by ensuring that the staple gun is disconnected or in a safe position.
- Locate the magazine or loading chamber, typically situated at the rear of the staple gun.
- Press the release or latch mechanism to open the magazine, exposing the loading chamber.
- Insert a strip of staples into the loading chamber, ensuring that the legs of the staples are facing downward.
- Close the magazine securely, making sure it locks into place to prevent any accidental release of staples.
- Test the staple gun by pressing the handle or trigger gently, ensuring that the staples are feeding properly.
Using the manual staple gun
- If needed, adjust the tension or depth settings on the staple gun to suit your specific requirements. Refer to the manufacturer’s instructions for guidance on adjusting these settings.
- Your manual staple gun is now loaded and ready for use.
- Remember to exercise caution and prioritize safety when using any tool, including a manual staple gun. Always wear appropriate protective gear, such as safety glasses, when operating the staple gun.
Now, Let’s discuss using a manual stapler on different scenarios such as wood, leather, metal, or vinyl flooring.
Woodworking
- Prepare the wood: Ensure that the wood pieces are properly aligned and secured.
- Position the stapler: Hold the manual stapler at the desired location on the wood.
- Press down firmly: Apply pressure on the stapler handle to drive the staple into the wood.
- Repeat as needed: Move along the wood surface, positioning the stapler at desired locations, and repeat the stapling process.
Leatherwork
- Choose the right staples: Select staples specifically designed for leatherwork, ensuring they have sharp points and the proper width.
- Prepare the leather: Position the leather pieces to be stapled and secure them in place.
- Position the stapler: Hold the manual stapler at the desired location on the leather.
- Apply controlled force: Squeeze the stapler handle with controlled force to drive the staple into the leather.
- Test on a scrap piece: Before proceeding with your actual project, test the stapler and staples on a scrap piece of leather to ensure the desired results.
Metals
Manual staplers may not be suitable for stapling metals. Consider alternative fastening methods such as screws or rivets.
Vinyl Flooring
Manual staplers are typically not used for installing vinyl flooring. Consult the manufacturer’s instructions for the recommended installation method.
FAQs
To use a Work zone staple gun, load the correct staples and align the material. Squeeze the trigger to drive the staples into the material. Disconnect and store the staple gun safely after use. Refer to the user manual for specific instructions and safety guidelines.
To set the staple gun adjustment knob, locate the knob or dial on the tool, typically near the front or bottom. Turn it clockwise to increase penetration or counterclockwise to decrease it. Test fire a staple into a scrap piece of material and make small adjustments until you achieve the desired depth.
Final Thoughts
In my opinion, you should use an electric staple gun because of its versatility, affordable price, portability, power, and efficiency.
Consider factors such as the nature of your projects, the required power and speed, and your comfort level with the tool when choosing the right staple gun for your needs.
Always follow the manufacturer’s instructions, prioritize safety precautions, and choose the appropriate staples for the materials you are working with.
If you’re digging this staple gun action, you’ll wanna check out our guide on the best upholstery toolkits.
