If it’s your first time using a sewing machine, or you have upgraded the type of sewing machine you were using earlier. Then threading it might occur as an issue; if so then you have landed on the right place.
Threading a sewing machine is not hard, but is very technical. In many sewing machines, there is some small tiny equipment and levers; from where you should pass the thread; otherwise, all your setting would be in vain.
For each type of sewing machine, there is a different method for threading it. So it is completely normal when you feel lost while putting a simple thread in your sewing machine. Before we start, it is necessary to explain how the sewing machine stitches with the help of a thread. In every sewing machine, there are two thread sources;
- The threaded pin is above the needle, and you place a thread spool on the threaded pin.
- The second source is the bobbin pin; it is beneath the needle.
You need to thread both these tools to make the machine work. In this guide; we intend to share with you all the methods to thread different types of sewing machines. So let’s get started.
Threading a Classical Vintage Sewing Machine
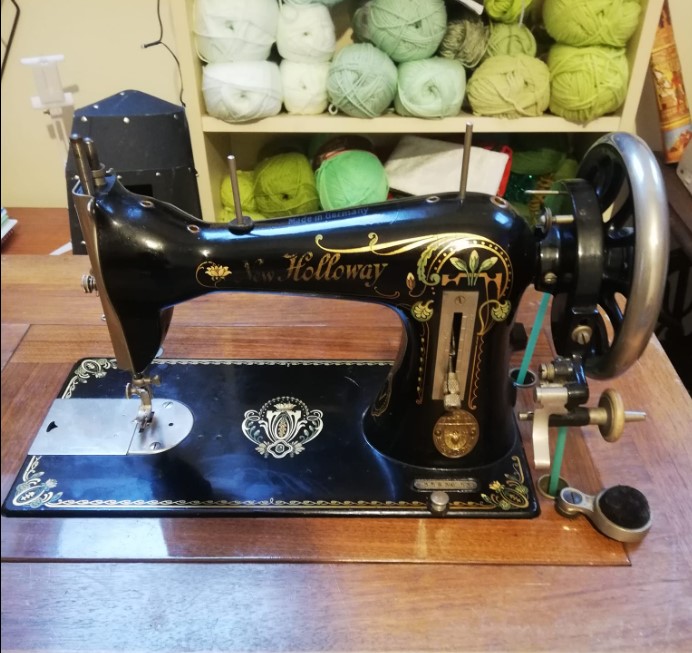
If you have an old vintage sewing machine; that your old parents were using so far; then this is the method to follow.
- First, raise the presser foot. You will see a presser foot lever on the left side of the machine.
- Then you must move the wheel of your machine, and move it until the thread holder reaches the maximum height.
- Then once you have fixed the thread spool on the spool pinning point, take the head of the thread and pass it from the thread guide. Doing so is important; otherwise, you will not have the desired tension in the thread.
- Then below the thread guide would be the thread tension regulator. You must wrap the thread around that regulator in a way that creates the required amount of tension in the thread. To increase thread tension you may move the regulator.
- To fix the thread in the tension regulator, you will need to pull the thread to the right side. Until the hook pops out, and then you will wrap the thread around that.
- Then pass the thread from the thread holder, which was earlier set at the highest point possible.
- Then there would be two more thread guides, wrapping the thread around them.
- Once you have passed the thread from all the hooks. Now you may pull it out from the needle.
Threading a Mechanical Sewing Machine
A mechanical sewing machine is similar to a vintage but threading it is relatively simpler than the classical ones.
1. Winding the bobbin: So in a mechanical sewing machine, there is a bobbin loader, in some, you would see a front bobbin area; while in some it is a top bobbin loader. For those who do not know, a bobbin is a spool of thread, you need to fix it by wrapping the required amount of thread on it. You will get empty bobbins as accessories with the sewing machine, so to thread that bobbin you may use the already available thread spools. To do so, place the thread spool on the threaded pin, then place the bobbin on the bobbin winder, press the pedal of the machine, and let it wrap around the bobbin.
2. Filling the bobbin case: Next, the wound bobbin will go under the needle, it is a compartment called the bobbin case. You will require to pedal your machine a bit to take the presser foot and needle up. Now remove the cover of the bobbin case. In many machines, there are arrows made on the bobbin case to guide you regarding the place of the wound bobbin. Fix it in the directed position, and close the lid.
3. The threaded pin: Once you have set the bobbin, it is time to set the thread. Remember that the color of the thread that you wound around the bobbin has to be the same as the one you will place on the threaded pin.
4. Thread guides: The next thing you would see on a sewing machine is thread guides. These thread guides are simple hooks to hold the thread. All you need to do is follow the direction of these thread guides, the ones which come first should be wrapped first. However, you should start from the right-hand side.
5. Take up lever: Once you are done with the thread guides, and their loops. The next move is to pass the thread from the take-up lever. Remember while you pass the thread through it, it should be at the highest position possible.
6. Threading the needle: There can be three situations for threading the needle. Number one is passing the thread from the needle eye with your hand. You must keep on pushing the thread from the eye until you see a few inches on the other side of the needle. Then in another case; some mechanical machines have an automatic needle threader, you should check the guide for that. Lastly, you can buy a separate needle threader to make threading the machine easier.
7. Connecting the two threads: Once you are sure that the needle has its thread. Very slowly press the pedal of your machine, this way the needle with the thread will get down, and catch the thread of the bobbin.
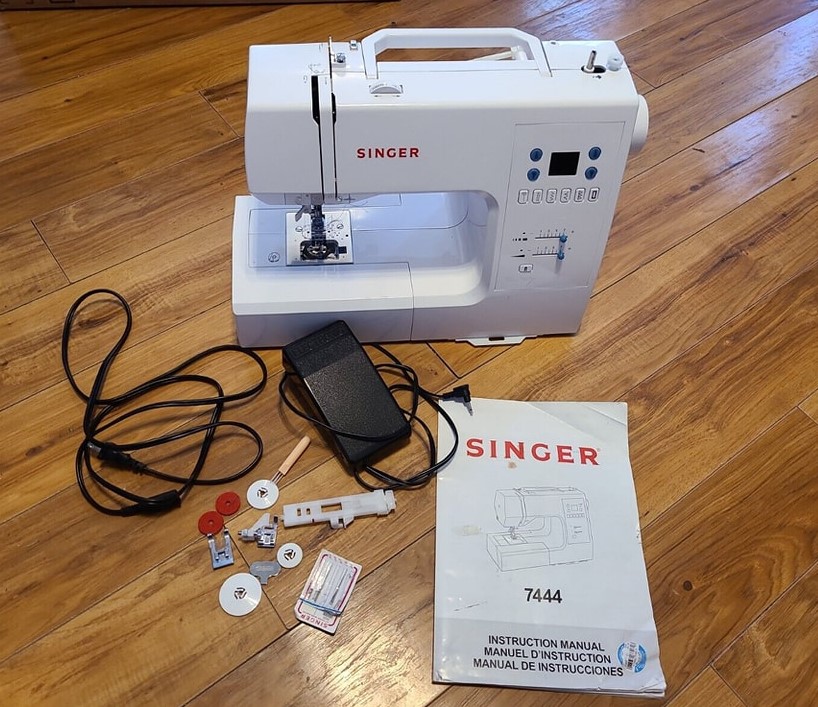
Threading an Electronic Sewing Machine

No matter how advanced a sewing machine is; you cannot skip the part of threading. However, the method of threading in an electronic machine is slightly different from the older machines.
To thread an electronic machine, you must follow these simple steps. To master this, we would advise you to practice.
1. Threading the bobbin: So the first step will be threading the bobbin. For that, you need to fix the thread spool on the thread spool pin. You must take out some of the thread very slowly, it is to see the direction of the thread. The ideal direction is from the top to the back. Remember, if the thread would be unwinding from the back to the top, it might get stuck. In an electronic machine, there will be a hook, right in front of the thread spool. It is to give extra support to the thread. Now you take the bobbin, and you will see there would be two holes on both sides of the bobbin. Then, you would pass the thread through it, and wrap it a little bit in the anti-clockwise direction. Now press the on button and see the bobbin being wound on the thread. Once the bobbin is fully covered, cut off the remaining thread.
2. Threading the spool thread: Moving on to the next step; which is directly threading the needle with the thread. First, you must remove the thread from any thread holder that you first fixed for the bobbin. In most top-loading electronic machines, there are some thread guides located on the right side of the machine, these are specific for the bobbin.
3. Threading the take-up lever: Just like the mechanical machines, you will also see a take-up lever. In most electronic devices these levers are hidden or covered under the plastic or aluminum cover of the sewing machine. They will only be visible when the user will slightly press the button of the machine, it will come up and you can see it. To thread the device, you must pass it from the thread guides, and then through the take-up lever.
4. Threading the needle: Then the last thing would be threading the needle. Now you should see the manual before doing it. Pass the thread from all the available hooks. Then directly or with the help of the needle threader passes it from the needle. You must also ensure that the thread is well inside and outside the needle.
5. Place the bobbin: When the needle is threaded, it is time to put the wound bobbin inside the bobbin loader. In some machines, it is at the top, but in a majority of electronic sewing machines, you will see it under the needle. If there is some armrest, remove it, and you will get to access the space for a bobbin. Open it and take out the bobbin holder. Now place the threader bobbin in the bobbin holder. Remember when you place the bobbin, it should be placed in a way that the thread comes out in a clockwise direction.
6. Placing bobbin in a top loading machine: In case you have a top loading machine, you only need to locate the bobbin case and open it, it would also be under the needle. Here again, when you put the wound bobbin make sure that it will unwind in a clockwise direction.
7. Connecting the two threads: You need to connect the two threads together for stitching. It is not like tying them together. Instead, once both the bobbin and the needle are threaded, you need to press the button, and the needle would come down and the thread in it will entangle with the bobbin thread.
Dos and don’ts of threading a sewing machine
It is a very technical task to thread the needles and the bobbins of a sewing machine. For a beginner, it might be hard to understand, but even if you know the basics there are some tiny details that must never be overlooked if you want a clean stitch. So here we are discussing a few of them.
- Always thread the bobbin in an anti-clockwise direction.
- Always place the bobbin in a way that the thread must come out in a clockwise direction.
- One must pass the thread from all the available thread guides.
- Reading the manual of the sewing machine is essential for an easy stitching and threading process.
- Try to keep the color of the threads the same for both the bobbin and the thread spool.
- Any strange noise means that the needle or bobbin is not threaded correctly.
- For turning the fabric you must lift the presser foot.
Final Words
Threading a needle is not as hard as you initially feel. A little bit of practice, and a proper understanding of the type of machine you use is enough. In both cases, if you use an automatic needle threader or not, you still need to pass the thread through the specific areas described in the manual of the sewing machine.